Electrical system grounding forms the backbone of home safety, ensuring protection against electrical shocks and fires. From emergency electricians responding to ground loop issues to the intricate electric power distribution systems in data centers, proper grounding is crucial. Even the soil around your home plays a vital role in creating an effective grounding system. In this article, we’ll explore the essentials of electrical grounding, providing homeowners with valuable insights to keep their families safe and their electrical systems functioning optimally.
Key Takeaways
- Electrical grounding is crucial for home safety, protecting against shocks and fires
- Different types of grounding systems exist, including rod, pipe, plate, and concrete-encased electrodes
- Installing a grounding system requires specific tools and materials, best done by professionals
- Signs of poor grounding include frequent shocks, flickering lights, and unusual noises from outlets
- Regular professional inspections are essential to maintain a safe and efficient electrical system
Understanding the Basics of Electrical Grounding

Electrical grounding forms the backbone of a safe home electrical system. It’s a crucial safety feature that directs excess energy away from electrical devices, protecting both people and property from potential injury or damage. A skilled emergency electrician installs grounding systems, which typically involve a grounding electrode buried in the earth. Understanding the basics of grounding and the different types of systems available can help homeowners make informed decisions about their electrical safety.
What Is Electrical Grounding and Why It Matters
Electrical grounding serves as a vital safety measure in homes and buildings. It provides a safe path for excess electrical current to flow into the earth, reducing the risk of electric shock and fire. This system typically includes a grounding wire connected to metal pipes or rods buried in the ground.
Proper grounding protects people and equipment from dangerous voltage surges. It also helps reduce electromagnetic interference, which can affect the performance of electronic devices. Many AC power plugs and sockets feature a third prong specifically for grounding purposes.
Grounding systems play a crucial role in maintaining electrical safety standards. They work in conjunction with circuit breakers and fuses to create a comprehensive safety net for electrical systems. Homeowners should ensure their electrical systems are properly grounded and regularly inspected by a qualified electrician.
The Different Types of Grounding Systems Explained
The National Electrical Code recognizes several types of grounding systems. Each system uses a different method to create a path for electrical current to flow safely into the earth. These systems include rod and pipe electrodes, plate electrodes, and concrete-encased electrodes.
Rod and pipe electrodes are the most common type of grounding system. They use a metal rod or pipe driven into the ground to act as an electrical conductor. Copper conductors are often used due to their excellent conductivity and resistance to corrosion.
Plate electrodes and concrete-encased electrodes offer alternatives for situations where rod or pipe electrodes aren’t practical. These systems use large metal plates or concrete-encased conductors to create a low-resistance path to the earth, effectively dissipating electrical faults.
Lightning strikes can wreak havoc on unprotected homes. A proper grounding system acts as your shield against these electrical threats.
How to Safely Install a Home Grounding System

Installing a home grounding system is a critical step in safeguarding against electrical hazards like short circuits and lightning strikes. While it’s best to hire a professional electrician for this task, understanding the process can help homeowners make informed decisions about their electrical safety. This guide will cover the essential tools and materials needed for grounding system installation, as well as a step-by-step walkthrough of the process. From selecting the right ground rod to properly connecting it to the home’s electrical panel, each step plays a vital role in creating a robust defense against electrical faults. Remember, a well-installed ground system works in tandem with fuses and circuit breakers to protect both the home’s electrical components and its occupants.
Tools and Materials Needed for Installing a Ground System
Installing a home grounding system requires specific tools and materials to ensure compliance with electrical codes. Essential items include a ground rod, ground rod clamp, grounding wire, and a hammer drill or sledgehammer for driving the rod into the ground. Electricians also need wire strippers, pliers, and a voltage tester to safely handle electrical cables.
The heart of the grounding system is the ground rod, typically made of copper-clad steel. This rod must meet specific length and diameter requirements set by local electrical codes. Alongside the rod, a heavy-gauge copper wire serves as the main grounding conductor, connecting the rod to the home’s electrical panel.
Additional materials may include weatherproof connectors, conduit for protecting exposed wiring, and a capacitor for surge protection. Some installations might require specialized equipment like a ground resistance tester to verify the system’s effectiveness. Here’s a breakdown of the essential tools and materials:
Step-by-Step Guide to Setting Up Your Own Grounding System
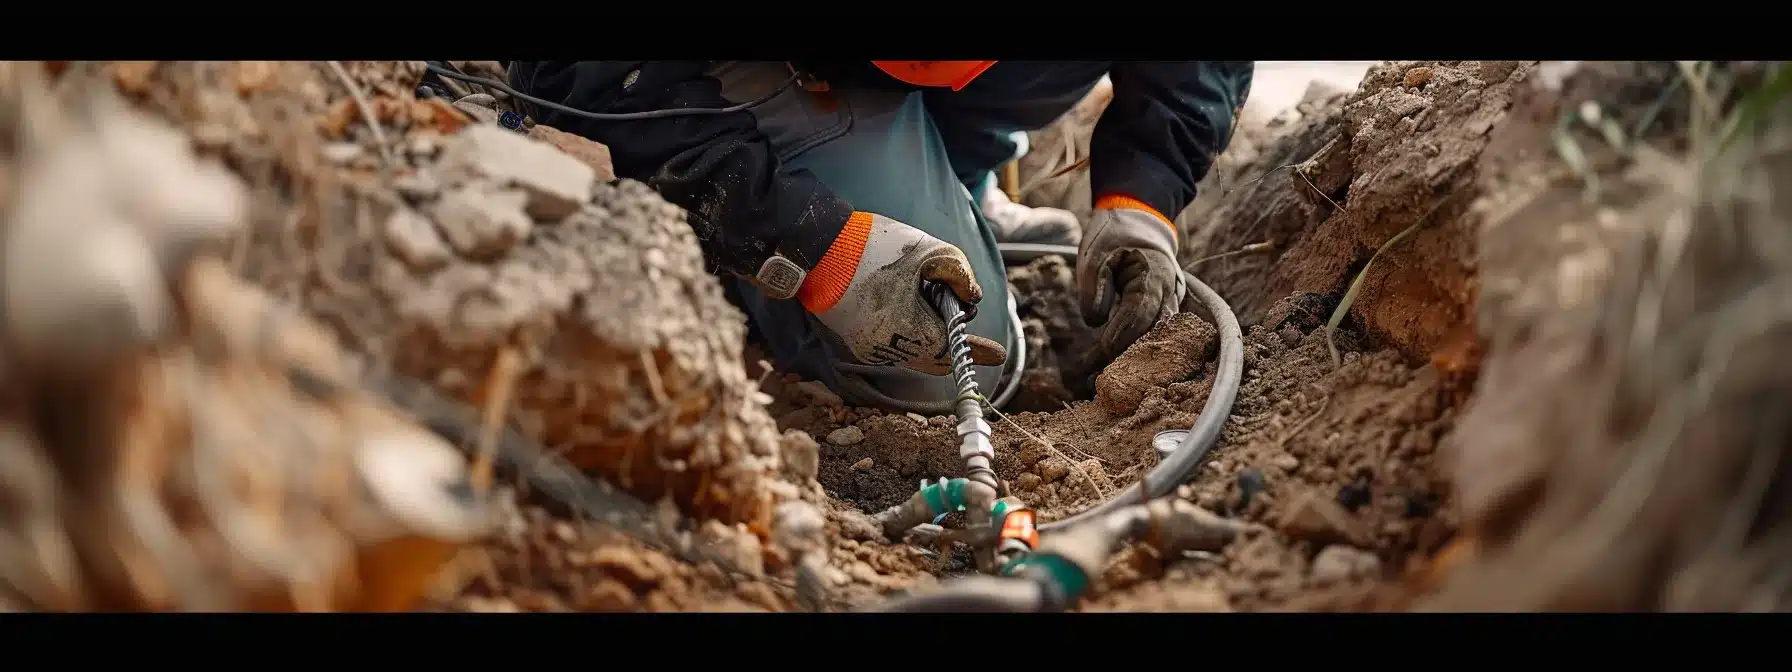
Setting up a home grounding system starts with choosing the right location for the ground rod. Electricians typically install the rod at least 8 feet deep and within 10 feet of the main electrical panel. This ensures a solid connection to the earth and creates an effective path for dissipating voltage spikes.
After driving the rod into the ground, the next step involves connecting it to the home’s electrical system. This requires running a heavy-gauge copper wire from the rod to the main panel. Electricians carefully secure this wire to prevent damage and ensure a continuous earthing system.
The final stage includes connecting the grounding wire to the panel and testing the system. A proper connection reduces the risk of electrical shock and protects against power surges. Here’s a simplified breakdown of the process:
- Choose and prepare the ground rod location
- Drive the rod into the ground
- Run grounding wire from rod to panel
- Connect wire to panel with appropriate screw
- Test the system for proper grounding
Proper grounding protects your home, but issues can still arise. Let’s explore how to spot and solve common grounding problems.
Identifying and Fixing Common Grounding Issues

Proper grounding is crucial for the safety and efficiency of a home’s electrical system. It protects against lightning strikes, stabilizes voltage from the electrical grid, and provides a safe path for fault currents. However, issues with grounding can arise, putting homes at risk. Recognizing the signs of poor electrical grounding and knowing how to troubleshoot common ground faults can help homeowners maintain a safe electrical environment. From checking copper wiring connections to identifying issues with mains electricity, understanding these aspects empowers homeowners to address potential hazards promptly and effectively.
Signs Your Home Has Poor Electrical Grounding
Homeowners may notice several telltale signs of poor electrical grounding in their homes. Frequent electrical shocks when touching appliances or light switches indicate a potential grounding issue. Flickering lights, especially during storms or when using high-power devices, can also signal grounding problems.
Unusual noises from electrical outlets or devices may point to inadequate grounding. Homeowners might hear buzzing or humming sounds, particularly in homes with aluminium wiring. Regular electrical inspections can help identify these issues before they become serious hazards.
Modern home automation systems can malfunction due to poor grounding. These systems often rely on stable electrical frequencies, which proper grounding helps maintain. If smart home devices behave erratically or fail to communicate effectively, it could be a sign of grounding issues that require professional attention.
Troubleshooting Tips for Common Ground Faults
Troubleshooting ground faults often starts with a visual inspection of the electrical system. Homeowners should look for signs of corrosion on wires or connections, which can compromise electrical bonding. If corrosion is present, it’s crucial to have a professional electrician clean or replace affected components to restore proper grounding.
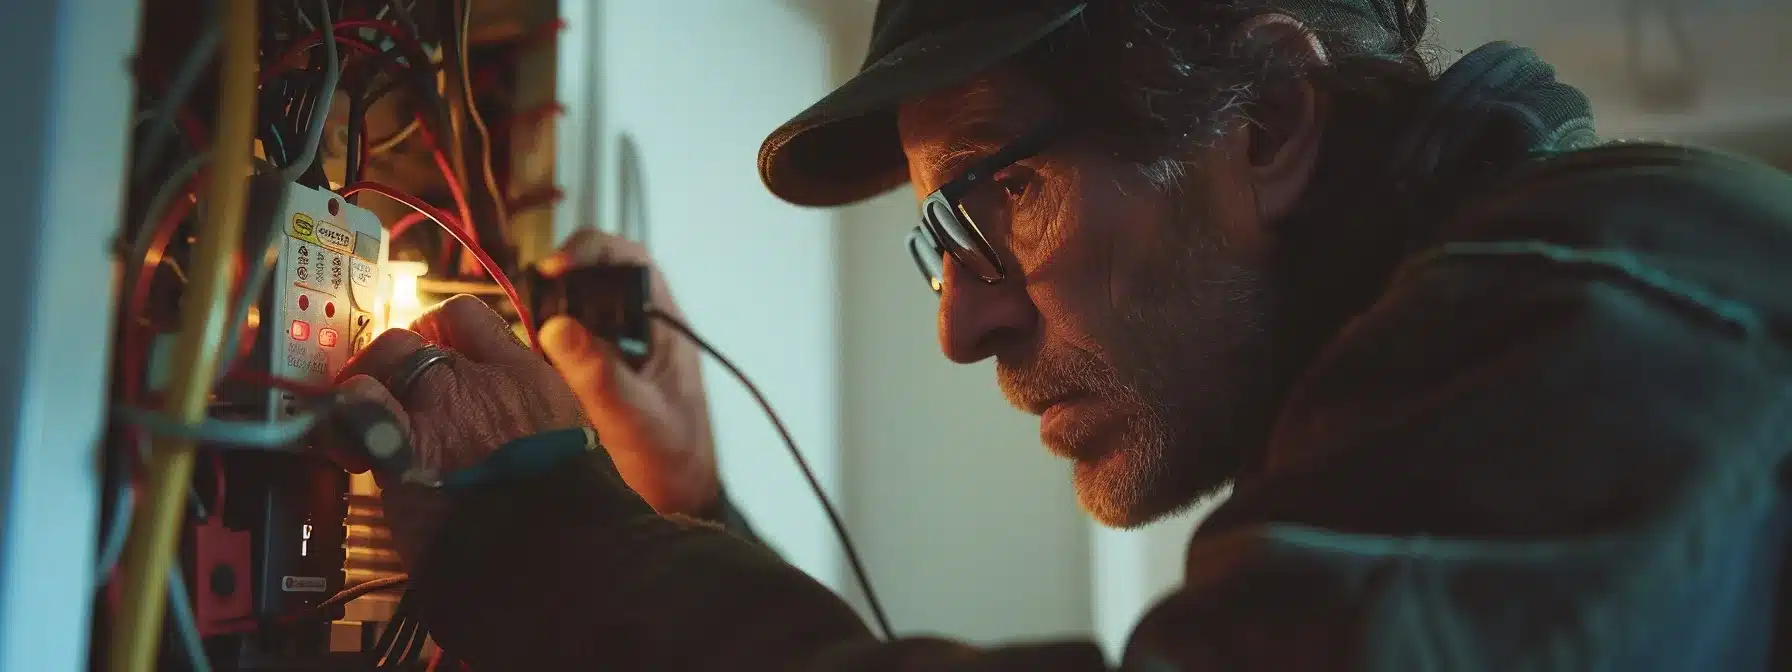
Using a multimeter to check voltage levels can help identify potential grounding issues. A properly grounded outlet should show a reading close to 120 volts between the hot and neutral wires, and near zero volts between the neutral and ground wires. Readings that deviate significantly from these values may indicate a ground fault that requires professional attention.
Maintaining occupational safety and health standards is vital when dealing with electrical systems. Homeowners should never attempt to fix complex grounding issues themselves, as this could lead to serious accidents. If troubleshooting steps don’t resolve the problem, it’s best to call a licensed electrician who can safely diagnose and repair ground faults:
Grounding issues can pose serious safety risks, but they’re just the tip of the iceberg. Professional inspections reveal hidden electrical dangers lurking within your home’s walls.
The Importance of Professional Inspections for Your Home’s Wiring

Regular professional inspections of a home’s electrical system are crucial for maintaining safety and preventing potential hazards. These checks go beyond surface-level examinations, delving into the intricacies of wiring, junction boxes, and grounding systems. Skilled electricians assess the entire electrical network, from the connection at the electrical substation to the outlets in each room, looking for signs of leakage, overvoltage, or weak signals. Understanding when to schedule these inspections and what professionals look for can help homeowners prevent electrical fires, equipment damage, and ensure their home’s wiring meets current safety standards.
When and Why to Schedule a Grounding Inspection
Homeowners should schedule a grounding inspection every three to five years or when they notice signs of electrical issues. These signs may include frequent circuit breaker trips, flickering lights, or unusual behavior from appliances like ceiling fans. Regular inspections help prevent downtime caused by electrical failures and ensure the safety of the home’s occupants.
Professional electricians use specialized tools, including multimeters, to assess the health of a home’s grounding system. They check for proper electron flow and look for any low-frequency disturbances that might indicate grounding problems. These inspections are particularly important after major renovations or the installation of new high-power appliances.
Scheduling a grounding inspection becomes crucial when purchasing an older home or after experiencing a major electrical event, such as a lightning strike. Electricians can identify outdated wiring methods, worn insulation, or damaged grounding connections that may not be visible to the untrained eye. Addressing these issues promptly can prevent potential hazards and ensure the longevity of electrical systems.
What Professionals Look for During an Electrical Inspection
Professional electricians scrutinize a home’s electrical system for signs of wear, damage, or outdated components during an inspection. They examine the main power supply, circuit breakers, and wiring connections to ensure they can handle the home’s electrical load safely. Inspectors also check for proper insulation and grounding throughout the system.
Lightning rods and surge protectors receive special attention during these inspections. Electricians verify their proper installation and functionality to safeguard the home against high voltage surges from lightning strikes or power grid fluctuations. They also assess the condition of insulators on outdoor wiring to prevent energy loss and potential safety hazards.
The inspection process includes testing outlets, switches, and fixtures for proper operation and grounding. Professionals use specialized equipment to detect any hidden issues within walls or ceilings that could lead to electrical fires or shocks. They also evaluate the overall capacity of the electrical system to ensure it meets the home’s current and future power needs.
Electrical safety extends far beyond just regular inspections. Ground Fault Circuit Interrupters (GFCIs) play a crucial role in protecting your home and loved ones from potential electrical hazards.
The Role of GFCIs in Enhancing Home Safety

Ground Fault Circuit Interrupters (GFCIs) play a crucial role in protecting homes from electrical faults. These devices monitor the flow of electricity and quickly shut off power when they detect an imbalance, preventing potentially dangerous situations.
GFCIs work by comparing the electric potential between the hot and neutral wires. If the difference exceeds a safe threshold, indicating a potential ground fault, the GFCI cuts off power within milliseconds, safeguarding both people and property.
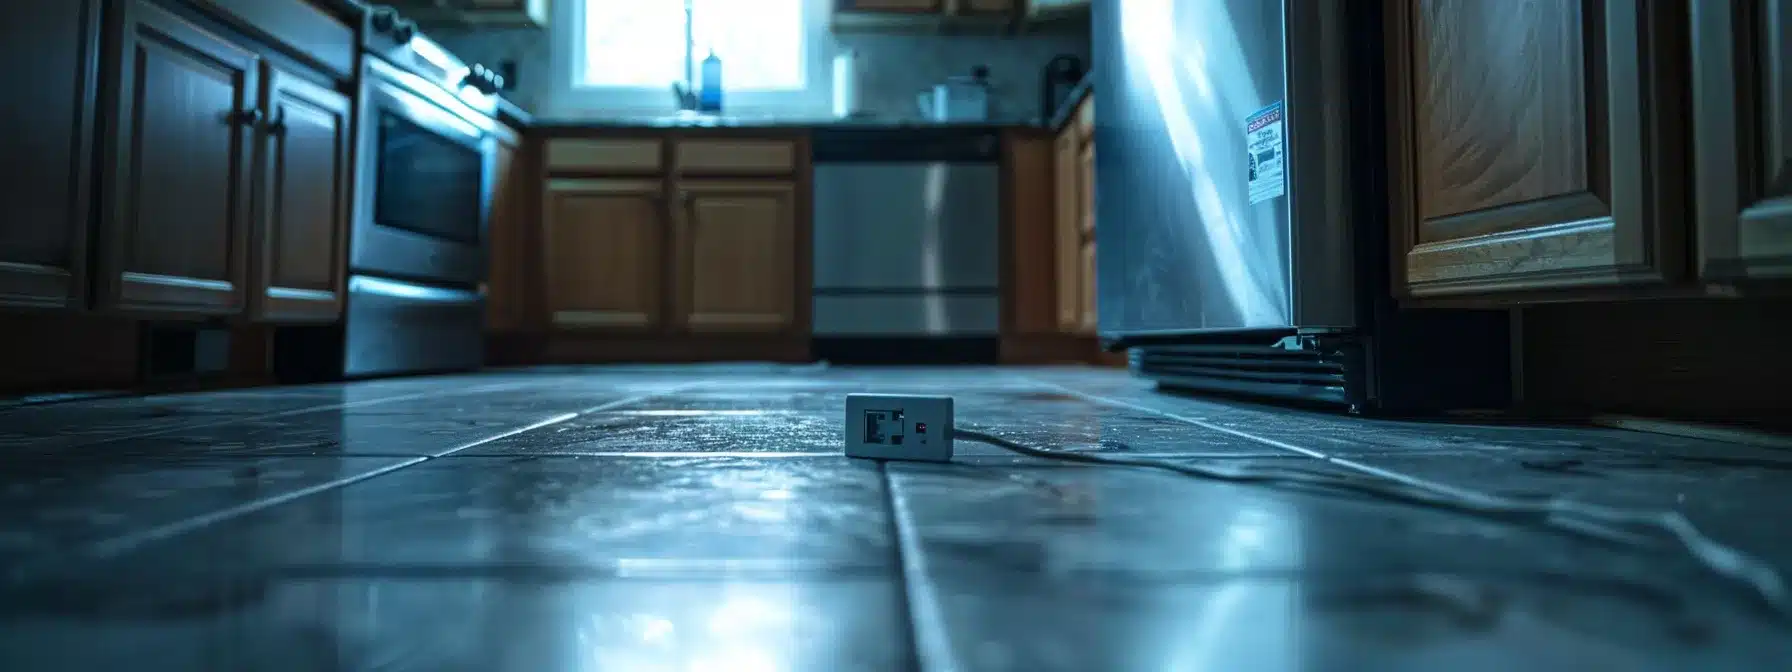
Homeowners should install GFCIs in areas prone to moisture, such as kitchens, bathrooms, and outdoor outlets. These devices provide an extra layer of protection against electric shock, especially in locations where water and electricity might come into contact.
Regular testing of GFCIs ensures they continue to function properly and protect against voltage fluctuations. Homeowners can easily test these devices by pressing the “test” and “reset” buttons, which should trip and restore power respectively.
While GFCIs primarily protect against ground faults, they also offer some protection against static electricity buildup. By maintaining a balanced electrical flow, these devices help reduce the risk of static discharge, which can damage sensitive electronic equipment in the home.
Conclusion
Electrical system grounding forms the cornerstone of home safety, protecting residents from shocks and electrical fires. Proper grounding dissipates excess energy into the earth, safeguarding appliances and electronic devices from damage caused by power surges. Regular inspections by qualified electricians ensure the grounding system remains effective and compliant with current safety standards. Homeowners who understand the basics of grounding can make informed decisions about their electrical systems, contributing to a safer living environment for themselves and their families.

