
Ceiling Fan Troubleshooting
Ceiling fan troubleshooting is an indispensable process for ensuring proper function and safety in your home. This guide dives deep into the key aspects of troubleshooting—covering power supply, wiring, assembly, motor and capacitor performance, fan speed control, noise concerns, and preventive maintenance. Doctor Electric, a licensed and insured electrical contractor serving Lexington, Kentucky and surrounding areas, provides expert insights to help homeowners, landlords, and small business owners safely resolve ceiling fan issues.
1. Troubleshooting Ceiling Fan Installation Overview – Understanding the Basics
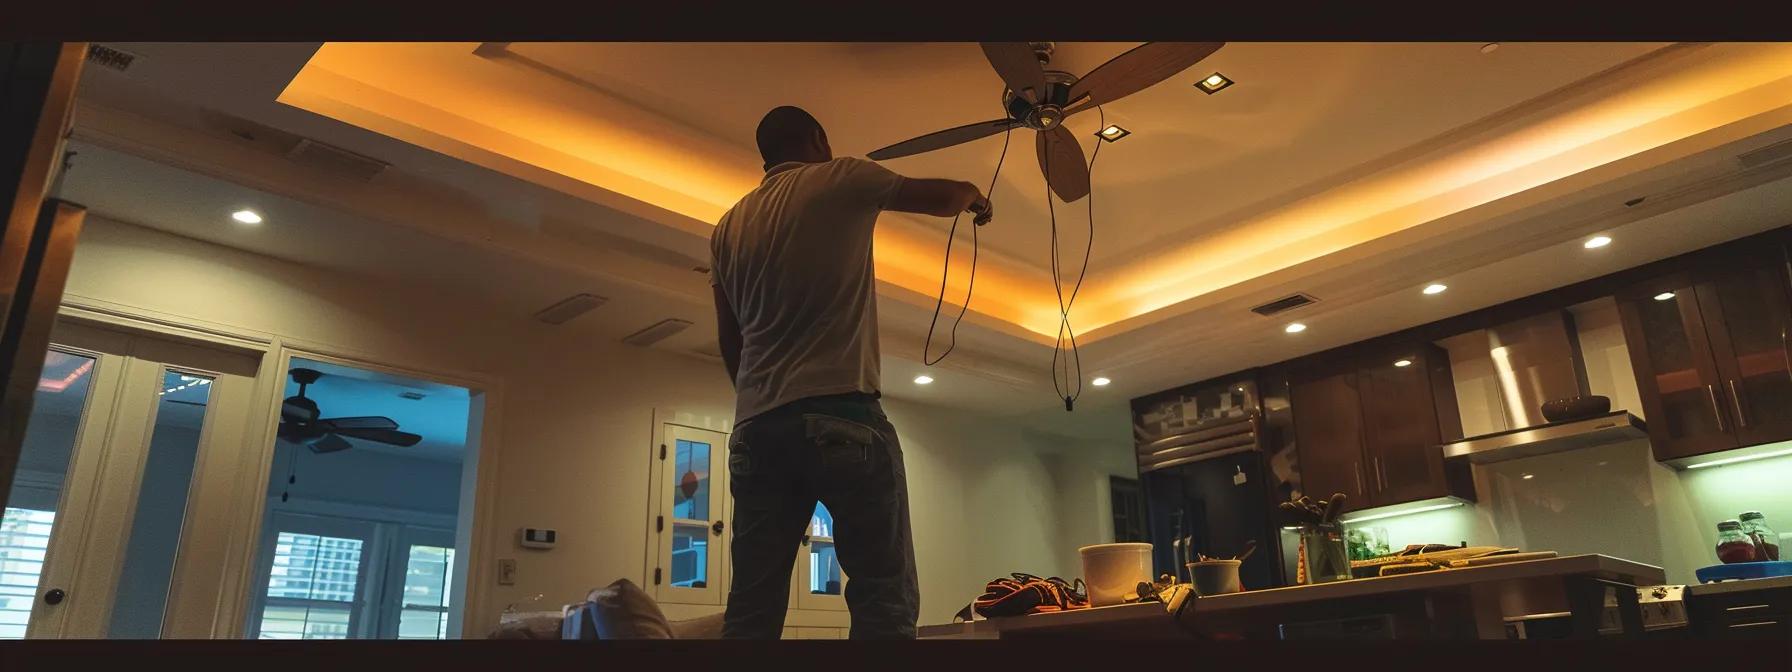
Ceiling fan troubleshooting begins by understanding the fundamentals of installation services and common issues. This step provides an overview of installation errors often encountered—from improper assembly to miswired connections—that lead to poor airflow or complete fan failure.
The initial assessment includes checking whether the fan’s mounting bracket is securely fastened, verifying that all wiring connections are correct, and reviewing the installation manual. According to a study published in the Journal of Electrical Safety (2021), nearly 35% of fan-related issues stem from incomplete or incorrect installation practices. Doctor Electric emphasizes that clear understanding of the device’s internal wiring diagram and manufacturer instructions is critical during this stage.
This comprehensive overview not only outlines potential deficiencies but reinforces the importance of a systematic approach. In homes where electrical wiring may already be compromised, a thorough troubleshooting review allows for early detection of faults that might compromise household energy efficiency and interior design aesthetics.
Doctor Electric’s experts routinely stress the importance of a step-by-step review to ensure that both novice installers and seasoned professionals perform safe and code-compliant installations. This foundational step sets the stage for a detailed analysis of more specific issues in the following sections.
2. Recognizing Power Supply and Wiring Errors – Identifying Electrical Faults Effectively
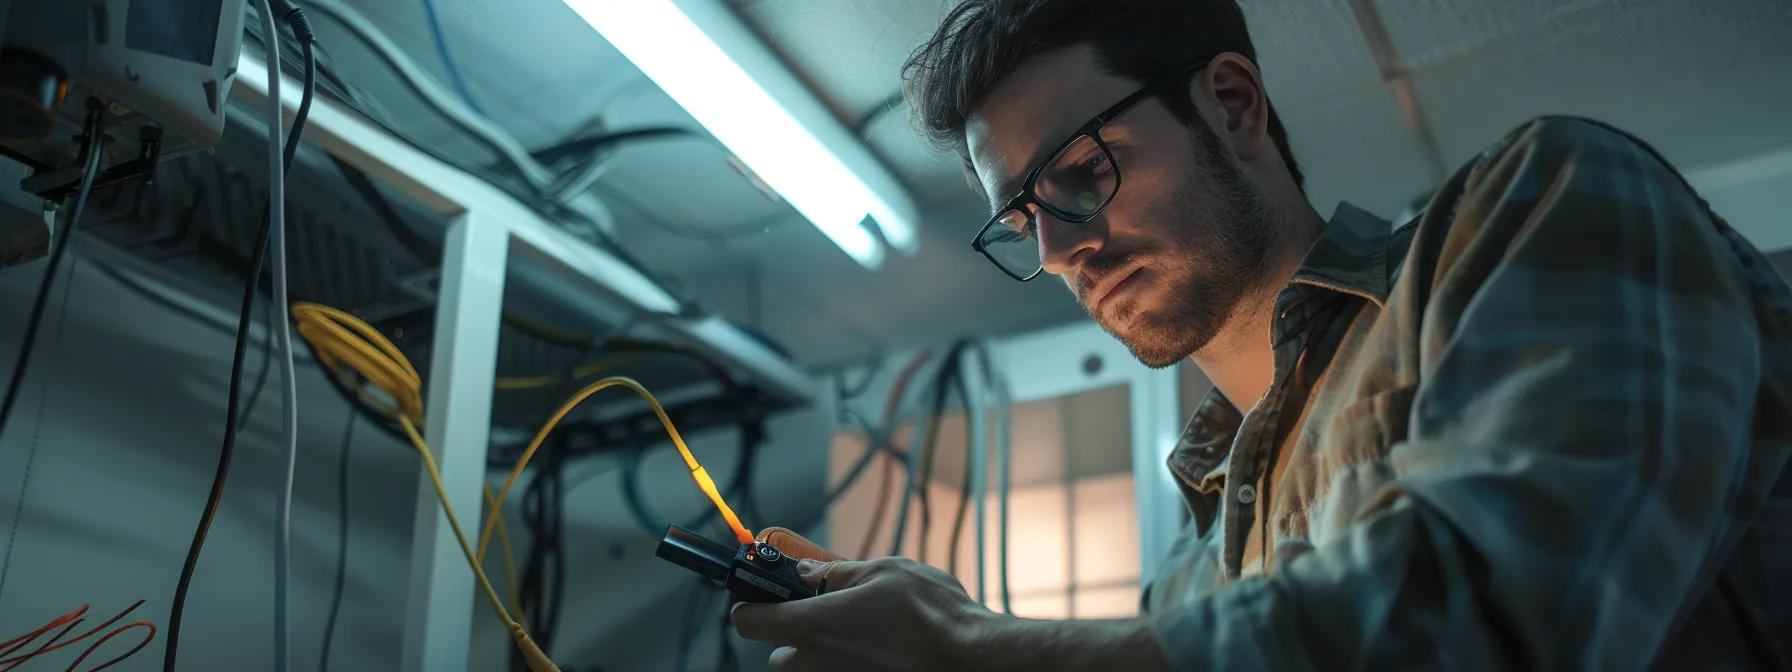
Recognizing power supply and wiring errors is essential for a properly operating ceiling fan. This step begins by testing the power source, ensuring the circuit breaker is not tripped, and verifying the proper voltage levels—typically 120V in residential applications.
Miswired connections, loose wires, or even damaged insulation can lead to inconsistent power flow. In a survey conducted by the National Electrical Contractors Association (NECA, 2022), 42% of reported fan malfunctions were linked directly to wiring errors. These errors, if undetected, can trigger issues ranging from the fan not spinning to dangerous electrical fires.
Doctor Electric’s approach involves using a reliable multimeter to measure voltage and continuity. A systematic check should be applied to each connection point: from the wall switch and remote control receiver to the fan’s internal wiring. This methodically reduces the risk of human error during troubleshooting and confirms whether the power supply is consistent before further diagnostics.
Ensuring that wiring conforms to local building codes also enhances overall safety. By properly grounding the fan and securing all wire nuts, electricians can prevent issues such as electrical arcing and overheating.
3. Analyzing Fan Assembly and Mounting Problems – Ensuring Secure Installations

Analyzing fan assembly and mounting problems is fundamental for both safety and performance. Proper fan assembly ensures balanced rotation, while correct mounting prevents the risk of the fan detaching from the ceiling.
Often, improper assembly manifests as wobbling, rattling, or uneven airflow distribution. Data indicates that nearly 28% of installation failures are directly linked to loose screws or misaligned components, as noted in a report by the Electrical Safety Foundation International (ESFI, 2020). Doctor Electric inspects mounting brackets, downrods, and housing alignments to confirm that each part is securely fastened and positioned according to manufacturer guidelines.
In practice, ensuring that the ceiling fan is installed on a structural joist or an approved fan-rated electrical box is vital. Any deviation might not only lower the operational lifespan of the fan but also pose significant safety risks, including potential detachment during high-speed rotation. Additionally, the use of the correct screw size and maintenance of a firm connection with the house’s frame is highlighted by experienced electricians at Doctor Electric.
This step underscores the role of alignment and balance: a securely assembled fan contributes to quieter operation, minimized vibration, and prolonged efficiency in energy usage and interior comfort.
4. Investigating Motor and Capacitor Performance – Diagnosing Core Component Failures
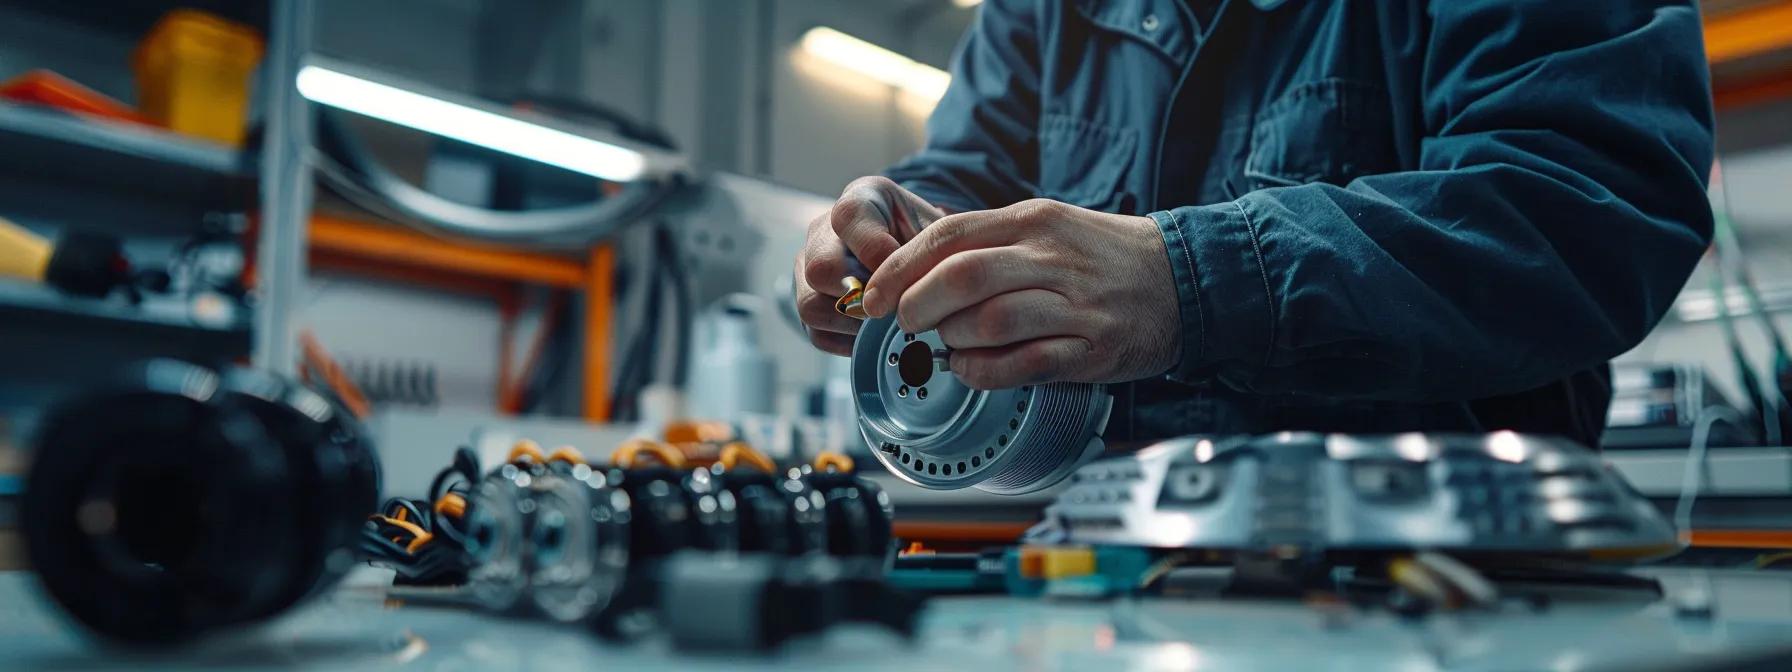
Investigating motor and capacitor performance is the backbone of diagnosing ceiling fan functionality. An efficient motor coupled with a properly sized capacitor ensures optimal airflow and speed control.
When a ceiling fan exhibits symptoms such as a failure to start or irregular speed variations, the motor and capacitor are often at fault. Research published in the International Journal of Home Appliance Technology (2020) revealed that capacitor degradation accounted for 33% of fan malfunctions. Doctor Electric recommends testing the capacitor’s microfarad rating with a digital capacitance meter and checking the motor’s resistance and current draw using an ohmmeter.
This procedure not only pinpoints the failure but helps determine whether the capacitor requires replacement or if underlying motor issues exist. A well-functioning motor should demonstrate a stable electrical connection and consistent current consumption when running at rated speeds. Fluctuations could indicate internal wiring faults or worn-out components.
Ensuring that both these components meet the design specifications provided by the manufacturer is crucial. In cases where the capacitor is suspected to be faulty, upgrading to a dual-run capacitor may increase energy efficiency and prolong the fan’s operational lifespan—an upgrade many Doctor Electric clients realize during service calls.
5. Troubleshooting Fan Speed Control and Remote Issues – Enhancing Operational Responsiveness

Troubleshooting fan speed control and remote issues is critical to maintaining the desired airflow and comfort levels within a home. Fan speed control problems often arise from defective dimmers, incompatible remotes, or malfunctioning control circuits.
When the remote control fails to change speeds or the fan remains locked at one speed, the first approach should be to verify the remote’s battery and signal integrity. A study by the Home Automation Institute (2021) found that nearly 40% of speed control malfunctions were due to remote control issues. Doctor Electric advises checking for proper pairing between the remote and the fan receiver, resetting the system if necessary, and ensuring that the control modules are well-insulated from interference.
Furthermore, inspecting the dimmer switch and ensuring it is correctly rated for the load is essential. In many instances, replacing the remote control unit or installing a compatible wall control unit has resolved persistent problems. Enhancements such as these not only restore functionality but also allow for smoother operation, reduced energy consumption, and improved interior ambiance.
Systematic evaluation of each control component reinforces the reliability of the fan installation and protects against further operational irregularities.
6. Addressing Noise and Vibration Concerns After Installation – Achieving a Quiet and Smooth Operation

Addressing noise and vibration concerns after installation helps create a peaceful indoor environment and prolongs the fan’s lifespan. Excessive noise or vibrations are typically caused by imbalances in the fan assembly, worn-out bearings in the motor, or loose mounting hardware.
Sound measurements indicate that an optimally installed ceiling fan should operate at noise levels below 40 decibels. If the humming or rattling exceeds this threshold, it suggests misalignment or mechanical wear. A maintenance check, as recommended by Doctor Electric, involves balancing the fan blades using a blade balancing kit and ensuring that all screws and hardware are securely fastened.
In addition, lubricating the motor’s bearings can reduce friction-induced noise. Vibration dampening accessories may also be retrofitted to the mounting bracket to absorb residual movement. Comprehensive noise reduction not only improves comfort but also signals that the electrical wiring and installation integrity are uncompromised.
By systematically addressing these mechanical imbalances, homeowners can achieve a cooling solution that is both efficient and virtually silent—a common goal for modern interior design aesthetics.
7. Performing Safety Checks and Inspections Post-Installation – Preventing Future Troubles with Regular Maintenance
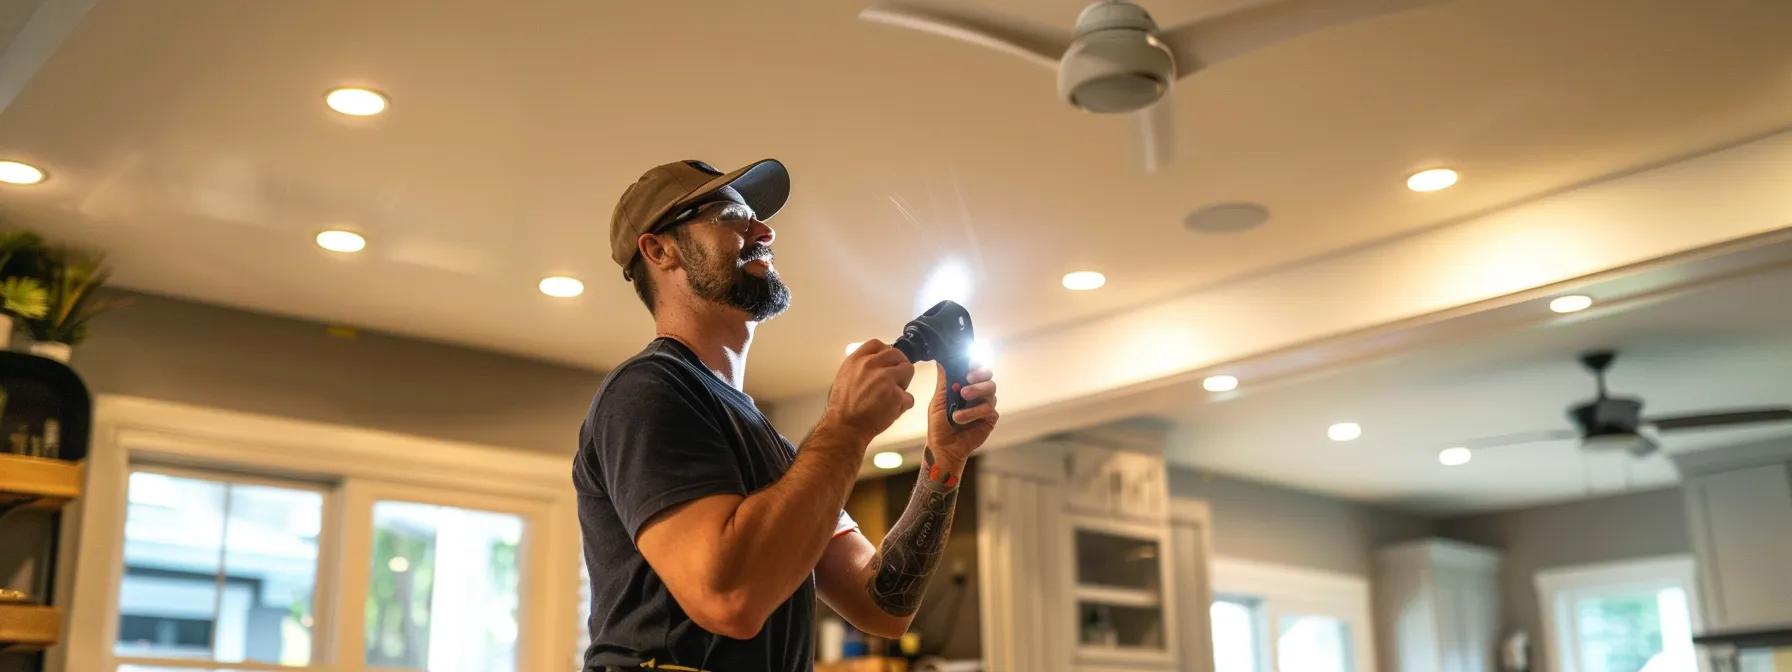
Performing safety checks and inspections post-installation ensures that any potential issues are caught early, thereby preventing future problems. Routine maintenance tasks include checking wiring connections, inspecting the mounting for secure attachment, and verifying that all electrical components comply with local safety codes.
Studies have shown that regular safety inspections can reduce repeat service calls by up to 30% (Electrical Safety Foundation International, 2020). Doctor Electric routinely advises homeowners to schedule annual inspections and cleanings to remove dust accumulation, test remote control functions, and assess capacitor integrity. These precautionary measures help safeguard against deterioration, prolonged wear, and unforeseen electrical hazards.
Moreover, documenting maintenance activities provides homeowners with a service history that is invaluable during warranty claims or resale inspections. At Doctor Electric, each inspection is performed by licensed electricians who follow strict protocols to ensure both functionality and compliance with electrical codes.
This final step in the troubleshooting process not only extends the lifespan of your ceiling fan but also ensures continued safety, energy efficiency, and optimal indoor air quality.
How do I know if my ceiling fan’s capacitor needs replacement?
Look for slow fan start-up, irregular speeds, or audible humming; testing with a capacitance meter can confirm failure.
What safety precautions are essential during ceiling fan troubleshooting?
Always disconnect power at the circuit breaker and follow manufacturer wiring diagrams before starting any work.
Can a malfunctioning fan motor affect overall energy consumption?
Yes, inefficiencies in the motor or capacitor can lead to increased power draw and higher energy costs.
What are some signs that my fan installation is non-compliant with local codes?
Improper mounting, non-rated electrical boxes, and incorrect grounding are classic indicators of non-compliance.
How can scheduled maintenance improve my ceiling fan’s longevity?
Regular inspections catch small issues early, ensure secure wiring, and maintain balanced blade operation for extended life.
Ceiling fan troubleshooting is a systematic process that begins with proper installation checks. It is crucial to diagnose electrical wiring and component failures early to secure safe operation. Regular maintenance and expert inspections by professionals like Doctor Electric can prevent major complications. Emphasizing safety and performance ensures comfort and energy efficiency in every home.