
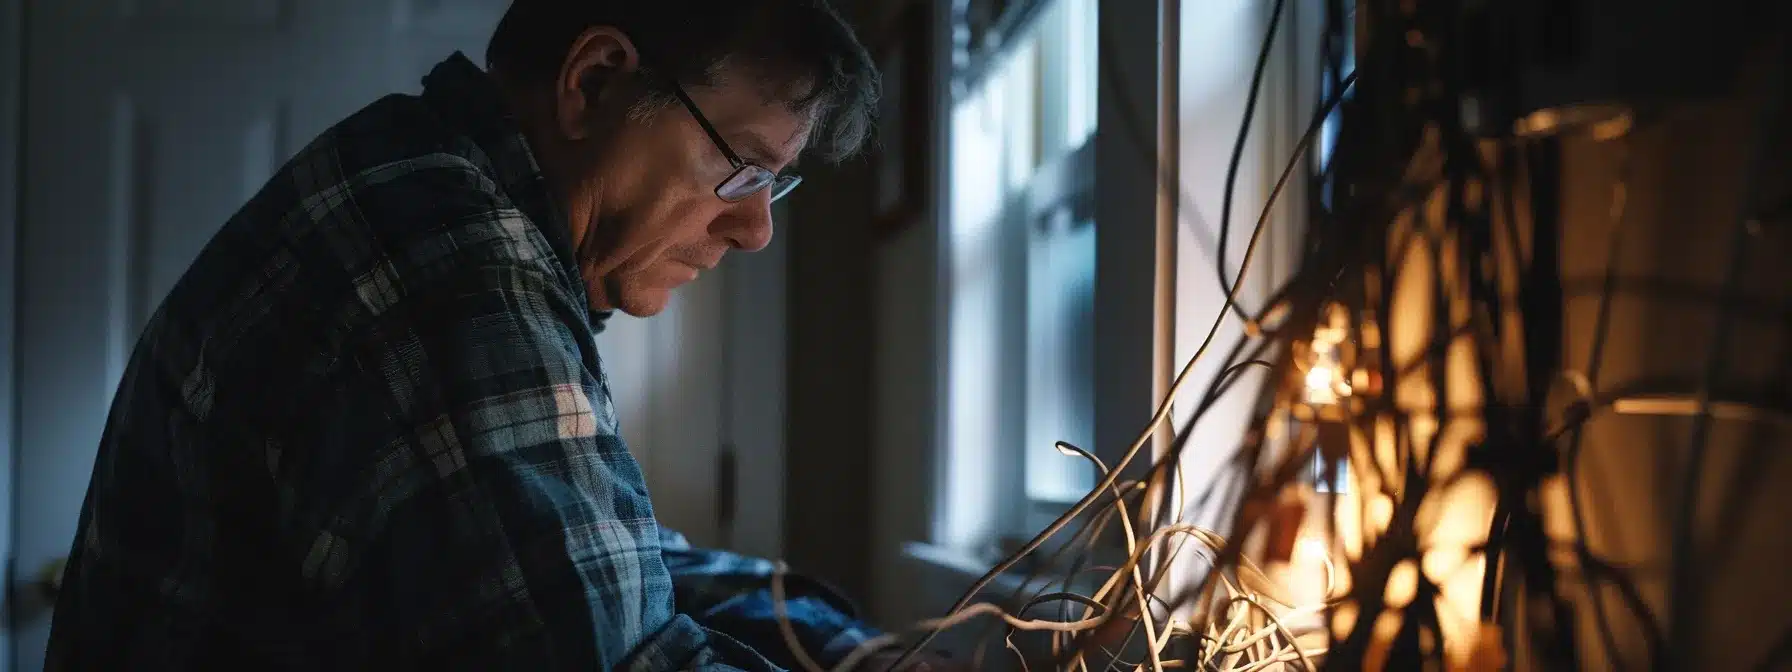
A tripped circuit breaker can be a real hassle, especially when you find yourself staring at a breaker that just won’t reset. Sometimes it seems like your emergency electrician is the only answer when the tripped circuit breaker will not reset. If you’ve ever experienced an AFCI breaker reset that didn’t work, or if it feels like pest control is what you need for your electrical issues, you’re not alone. Don’t fret; understanding how to safely reset your breaker is key to avoiding costly repairs and maintaining your electrical system. Keep reading to uncover practical steps and tips that’ll have you back on track in no time!
Key Takeaways
- understanding circuit breaker trips helps prevent future electrical issues for homeowners
- frequent breaker trips may indicate deeper electrical problems that require professional attention
- prioritizing safety measures when handling electrical repairs is essential for homeowners
- turning off devices before resetting breakers prevents overload and further complications
- regular inspections and maintenance can keep a home’s electrical system safe and efficient
Identifying the Cause of a Tripped Circuit Breaker
Understanding what leads to a tripped circuit breaker is key to preventing future issues. Homeowners may notice signs of circuit overload, such as flickering lights or intermittent power outages, especially when multiple devices plug into a single power strip. However, sometimes the culprit may be a short circuit, which can happen when wires inadvertently touch one another, creating an arc flash that poses a serious hazard. Another common reason for breakers tripping is ground faults, which occur when current escapes the circuit and travels to the ground. If the breaker tripped and will not reset, it’s vital to investigate these potential causes before addressing the problem further. In some cases, it may be necessary to call an emergency electrician for immediate assistance.
Recognizing Signs of Circuit Overload
Homeowners often notice flickering lights when appliances demand more power than the circuit can handle. This flickering is a telltale sign of an overcurrent situation, especially common in kitchens or bathrooms where multiple devices are used simultaneously. If an overload occurs regularly, the breaker may trip, and if the breaker will not reset after, it’s best to call an electrician to assess the issue for overall safety.
Another clear indication of circuit overload is the frequent need to reset the circuit breaker. If it keeps tripping after trying to reset it, something isn’t right. It’s essential to avoid ignoring these signs; they can lead to bigger issues down the line. An electrician can help identify if circuits are overloaded and put measures in place to prevent future incidents.
Overheating outlets or plugs can also signal trouble with the electrical system. If a homeowner finds that any area is warm to the touch, particularly when using heavy-duty devices, this is a serious safety concern. In such cases, the breaker will trip to protect the electrical system, but it’s important to address the root cause rather than simply resetting the breaker.
Understanding Short Circuit as a Culprit
A short circuit occurs when a metal wire comes into unintended contact with another wire or a conductive surface. This kind of electrical mishap can generate an alarming amount of heat, leading to potential fires and definitely triggering circuit breakers. Homeowners should be cautious if they notice their lighting flickering or if their surge protector seems to be overloaded, as these could signal underlying short circuit issues that need urgent troubleshooting.
Sometimes the issue may stem from faulty appliances. If an appliance has worn-out wiring, it might create a short circuit when turned on, causing the fuse to blow or the breaker to trip. Whenever homeowners experience frequent shut-offs, they should consider whether a specific device is contributing to the problem and get it checked out before further electrical troubles arise.
Any unusual smells or burning around outlets often hints at serious issues related to short circuits. Homeowners should pay attention to these warning signs and consult with a qualified electrician immediately. Addressing these problems quickly can help maintain the safety of their home and prevent extensive damage to the electrical system.
The Role of Ground Faults in Tripping Breakers
Ground faults happen when the current in an electrical system escapes from its intended path, often traveling through the ground. This can be particularly concerning in areas like the basement where moisture levels tend to be higher. Homeowners should keep an eye on their circuit breakers if they experience any unusual behavior; if the circuit breaker tripped and will not reset, it might signal an underlying ground fault issue.
Often, the trip occurs due to wires touching something they shouldn’t, like water or an unintentional grounding point. When current leaks out like this, it not only causes the circuit breaker not resetting but also poses a serious risk. It’s wise for homeowners to regularly inspect their wiring, especially in basements, to prevent ground faults before they lead to bigger problems.
If a breaker keeps tripping and will not reset after attempting to do so, it’s a good idea to consider whether a ground fault might be at play. This kind of malfunction typically requires immediate attention from an electrician. They can help locate the issue and ensure that all wiring is safe to avoid further disruptions in the home’s electrical system.
Now that you’ve pinpointed the reason behind that pesky tripped breaker, it’s time to ensure you’re safe before resetting it. Let’s dive into some essential safety tips that will keep you and your home protected!
Essential Safety Tips Before Attempting a Reset

Before diving into resetting a tripped circuit breaker, it’s important to prioritize safety. Proper equipment, like insulated gloves and a sturdy light switch, can protect against potential risks, especially when switching back on circuits. Turning off connected devices not only prevents a rush of power that may cause the breaker to trip again, but it also helps in spotting any electrical fault before resetting. Plus, having a flashlight on hand is crucial; if the power is out and the circuit breaker will not reset, using a flashlight ensures visibility and keeps the area safe while troubleshooting. Taking these precautions can prevent accidents and ensure handling those pesky breaker not resetting issues gets the necessary attention.
Ensuring Personal Safety With Proper Equipment
When dealing with a tripped circuit breaker, ensuring personal safety is paramount. Homeowners should always use insulated gloves while handling any electrical components. This simple step minimizes the risk of electric shock, especially if there’s a potential short circuit lurking within the system.
Having the right tools at hand is another vital aspect of fire safety during the reset process. A sturdy flashlight can help homeowners see clearly if the power is out, while a reliable multimeter can assist in checking for any underlying issues. These tools protect the property and those working on it from unforeseen hazards, particularly in areas like basements or near air conditioning units where moisture may be present.
Finally, it’s wise to turn off all appliances and devices before resetting the breaker. This not only reduces the risk of an immediate overload but also ensures that any potential electrical problems are easier to identify. By prioritizing safety equipment and smart practices, homeowners can manage their electrical systems with greater confidence.
Why Turning Off Connected Devices Matters
Turning off connected devices is an important step when resetting a tripped circuit breaker. When homeowners fail to disconnect appliances before resetting, a sudden rush of current can occur, leading to situations where the circuit breaker does not reset. Avoiding this step can also cause frustration, especially if the breaker keeps tripping after reset due to an ongoing issue with one or more devices.
Each electrical device draws a certain amount of electrons from the system, and too many devices on one circuit can overload it. By ensuring that all devices are unplugged, homeowners can prevent additional strain and reduce the chances of the breaker tripping again. This method not only protects the electrical system but also saves time in troubleshooting subsequent issues.
In some cases, the breaker may not reset due to a fault caused by a specific appliance. If it keeps tripping after reset, it may indicate that one of the connected devices has a problem that needs addressing. Turning off those devices not only helps identify potential culprits, but also keeps the home’s electrical system running smoothly.
The Importance of Using a Flashlight
Using a flashlight during any electrical troubleshooting is just plain smart. If the power is out, it helps to have a reliable light source to navigate safely around the home. Stumbling in the dark can lead to accidents, especially near outlets and wires that might be the source of the problem.
Having a flashlight on hand can also make it easier to identify any potential issues while inspecting the breaker. A bright light will let homeowners see if there are any signs of burning or damage that could indicate a bigger problem. This step is vital before attempting to reset the tripped breaker.
It’s not just about visibility; a flashlight adds an essential layer of safety. Keeping the area well-lit helps homeowners feel more secure while they troubleshoot electrical problems. It makes a potentially tense situation feel more manageable, knowing they can see everything clearly.
With safety measures in place, it’s time to tackle that tripped breaker. Let’s jump right into the step-by-step process to get your power running smoothly again!
Step-by-Step Procedure to Reset Your Tripped Breaker
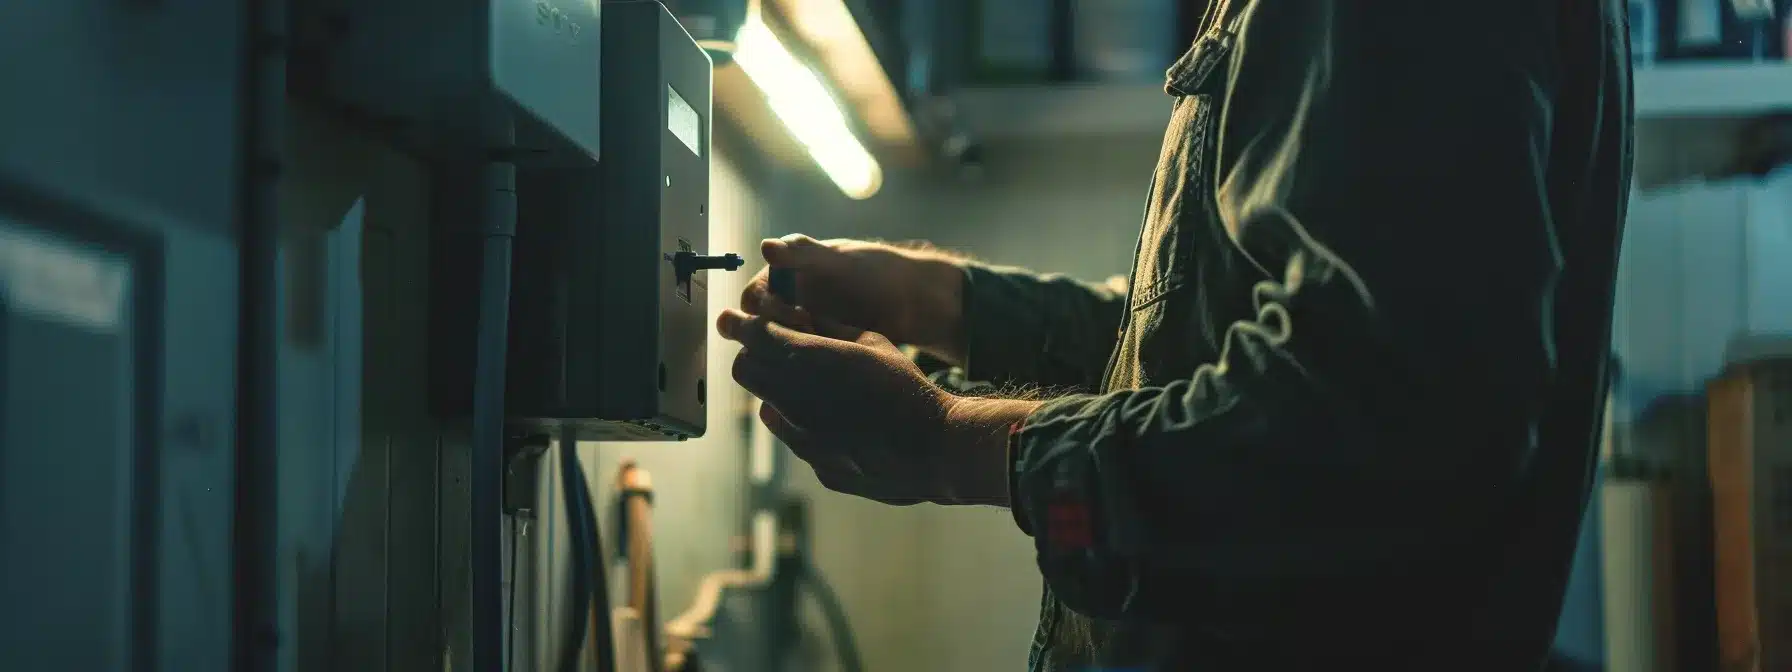
Once homeowners have ensured their safety and gathered the necessary tools, they can dive into the process of resetting their tripped circuit breaker. The first step involves locating the circuit breaker panel, usually found in a basement, garage, or utility room. After finding the panel, the next task is to identify which breaker has tripped, typically indicated by a switch in a different position than the others. Once identified, it’s time to switch the breaker fully to the OFF position before turning it back to ON. Finally, checking if power is restored will complete the process, ensuring everything runs smoothly again. This straightforward procedure can help homeowners regain control of their electrical system in no time.
Locating Your Circuit Breaker Panel
Every home has a circuit breaker panel, and finding it is the first step toward resolving electrical issues. Common locations for these panels are basements, garages, or utility rooms. Homeowners should check these areas first, as they often serve as the main hub for managing the electrical system.
If a home is newer, homeowners might find their circuit breaker panel in a kitchen or pantry. Sometimes, these panels even get tucked away in closets or behind doors. Taking a look in these unexpected spots can save time when troubleshooting electrical problems.
Once located, homeowners should familiarize themselves with the panel’s layout. Understanding which breaker controls which part of the house helps streamline the process of resetting a tripped breaker. This knowledge is handy during an electrical issue, ensuring quick access to the right breaker at the right time.
Identifying the Tripped Breaker
Identifying the tripped breaker is a straightforward task but crucial for resolving electrical issues. Homeowners should start by opening the circuit breaker panel and looking for any switches that are not aligned with the others. A tripped breaker will usually be in the OFF position or may be sitting in a neutral position between ON and OFF.
It’s important to take a moment to inspect the panel closely, as some breakers may have indicators or labels to show which circuits they control. Knowing what each breaker powers can save time during troubleshooting. If the tripped breaker cannot be easily identified, homeowners should try turning off all lights and appliances connected to the faulty circuit before heading back to the panel.
This way, it’s easier to pinpoint which breaker needs attention. Making sure the area around the breaker panel is well-lit can also help during this process. Once homeowners have identified the tripped breaker, they can proceed with the reset, ensuring that all equipment and connections are safe before doing so.
Switching the Breaker Correctly to OFF, Then On
Once homeowners have identified the tripped breaker, the next step is to switch it off completely. This ensures that the circuit is safely disengaged and allows for any potential issues to be addressed without risking electrical shock. Flipping the breaker fully to the OFF position is critical before attempting to turn it back on.
After ensuring the breaker is firmly in the OFF position, it can safely be switched back to ON. Homeowners should feel a slight resistance when moving the switch, indicating it has engaged properly. This action restores power to the circuit and helps evaluate if the problem has been resolved.
Finally, it’s essential to check if the power has been restored to the affected area. If everything operates as normal, then the procedure has been successful. If issues persist, it might be time to call in a professional, reflecting on the importance of safety throughout the process:
- Locate the tripped breaker.
- Switch the breaker fully to OFF.
- Switch the breaker back to ON.
- Check if power has been restored.
Checking if Power Is Successfully Restored
Once homeowners have gone through the process of resetting the breaker, the next step is to check if power has been restored. This can be done by turning on the lights or plugging in an appliance to see if they operate normally. If everything is back to working order, it’s a relief, and they can carry on with their day.
If the power isn’t restored, it’s a solid cue that further troubleshooting is needed. Homeowners might want to double-check which breaker was reset, ensuring that the right one was addressed. Sometimes, checking adjacent circuits can reveal if another connected breaker has been affected.
Ready to take your electrical knowledge to the next level? Let’s dive into the different types of circuit breakers and how they work to keep your home safe and powered!
Understanding Your Circuit Breaker: Types and Functions
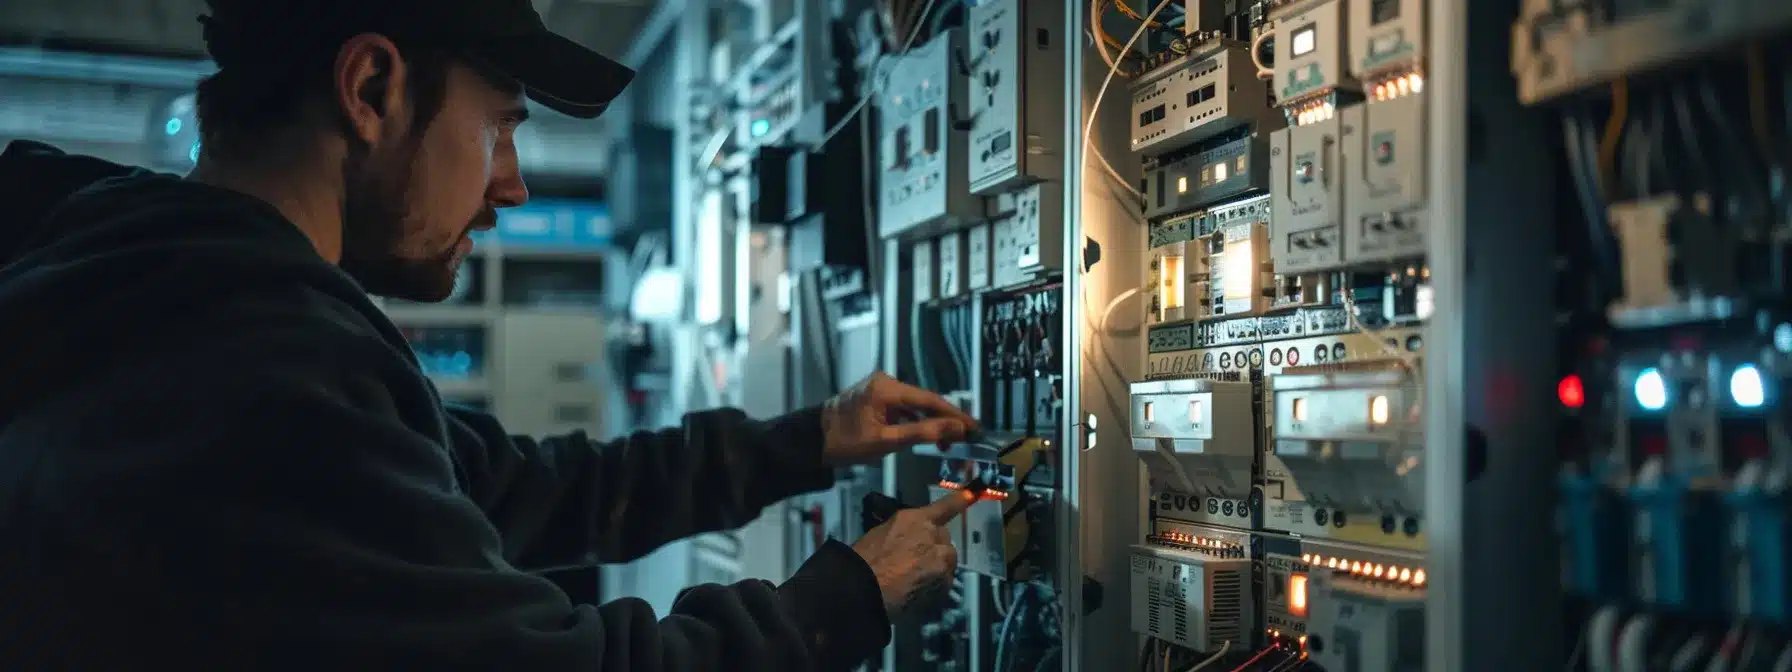
Understanding the types of circuit breakers in a home is essential for any homeowner, especially when addressing tripped breakers. The differences between single, double, and tandem breakers play a crucial role in how various electrical circuits are managed. Each type serves its own purpose, so knowing how to identify which kind is in place will help troubleshoot issues more effectively. Homeowners can save time and effort by familiarizing themselves with their specific breaker setup, ensuring they know exactly how to tackle any electrical challenge that comes their way.
The Difference Between Single, Double, and Tandem Breakers
Single breakers are the most common type found in residential electrical panels. They control a single circuit and are designed to handle typical loads, making them perfect for areas like bedrooms or living rooms. Homeowners will usually find these breakers providing power to lights and outlets without any fuss.
Double breakers, on the other hand, take care of two circuits at once and are used for higher power demands. These are often found in areas where heavy appliances like water heaters or dryers are used. The increased capacity means they can manage larger electrical loads without tripping under normal conditions.
Tandem breakers offer a unique solution by allowing two independent circuits to fit in the space of one conventional breaker slot. This is useful in panels that are short on space but still require additional circuits. Homeowners appreciate the flexibility they provide for expansions without the need for a new breaker box installation.
How to Identify Which Type You Have
To identify the type of circuit breaker in a home, homeowners can start by examining the circuit breaker panel. They should look for any labeling or markings on the breakers themselves, as many panels have indicators that specify whether a breaker is single, double, or tandem. A close inspection might also reveal the amperage rating, giving further insight into the breaker’s capacity.
Next, homeowners can take note of how the circuits are wired. Single breakers typically control one circuit, while double breakers connect with two. Tandem breakers, as the name suggests, allow two circuits within the space of a single slot, and homeowners may notice that they have two switches in one spot for that reason.
Lastly, understanding the layout and organization of their panel helps homeowners manage their electrical system effectively. By recognizing which type of breaker corresponds to the various areas of the home, they can make troubleshooting easier. Identifying each type of breaker provides clarity in ensuring electrical safety and efficiency:
- Examine the circuit breaker panel for labels.
- Observe the wiring connections: single, double, or tandem.
- Familiarize yourself with the layout of the panel.
Circuit breakers play a vital role in keeping your home safe, but they can trip unexpectedly. Let’s dive into how to prevent those annoying interruptions and keep the power flowing smoothly!
Preventing Future Circuit Breaker Trips
Keeping a home’s electrical system in top shape is all about taking proactive measures. Homeowners can avoid those pesky circuit breaker trips by being mindful of their electrical load. Learning to balance the power usage across different circuits helps prevent overloading any single circuit. Regular maintenance of the electrical system is equally important, as it allows for early detection of issues before they escalate. Simple routines like checking for frayed wires or ensuring connections are secure can make a world of difference. With these practices, homeowners can enjoy a safer, more efficient electrical experience.
Tips for Balancing Your Electrical Load
To keep the electrical system running smoothly, homeowners should spread out their power usage across different circuits. Using multiple outlets around the house instead of concentrating all the appliances on one power strip can help maintain a balanced load. This simple practice reduces the chances of overwhelming a particular circuit, which is often a cause for tripped breakers.
Identifying high-draw appliances is another important aspect of balancing electrical load. Homeowners can monitor the power requirements of items like refrigerators, air conditioners, and ovens, which tend to consume a lot of electricity. By plugging these heavy-duty devices into separate circuits, they avoid excessive strain on any one breaker.
Regularly assessing the layout of wiring and circuits also aids in maintaining balanced loads. Homeowners can consider consulting with an electrician for guidance on proper circuit distribution. This helps ensure that the home’s electrical system is both efficient and safe, minimizing the risk of future interruptions.
The Importance of Regular Electrical System Maintenance
Regular maintenance of the electrical system helps homeowners catch potential problems before they escalate. Scheduling routine inspections with a qualified electrician ensures that wiring, breakers, and outlets are in top condition. This proactive approach can prevent future circuit breaker trips and keep the home safe.
Another benefit of consistent inspections is that outdated or worn parts can be replaced before they lead to bigger issues. An electrician can identify components that may need an upgrade or replacement, which can enhance the overall efficiency of the electrical system. Keeping everything updated ensures that the system runs smoothly and reliably.
Additionally, regular maintenance can help homeowners stay compliant with safety standards. Knowing that the system is up to code provides peace of mind. When everything works as it should, the risk of electrical fires or other hazards significantly diminishes:
Keeping your home safe and sound is just the beginning. When things go wrong, knowing when to call in a pro can make all the difference!
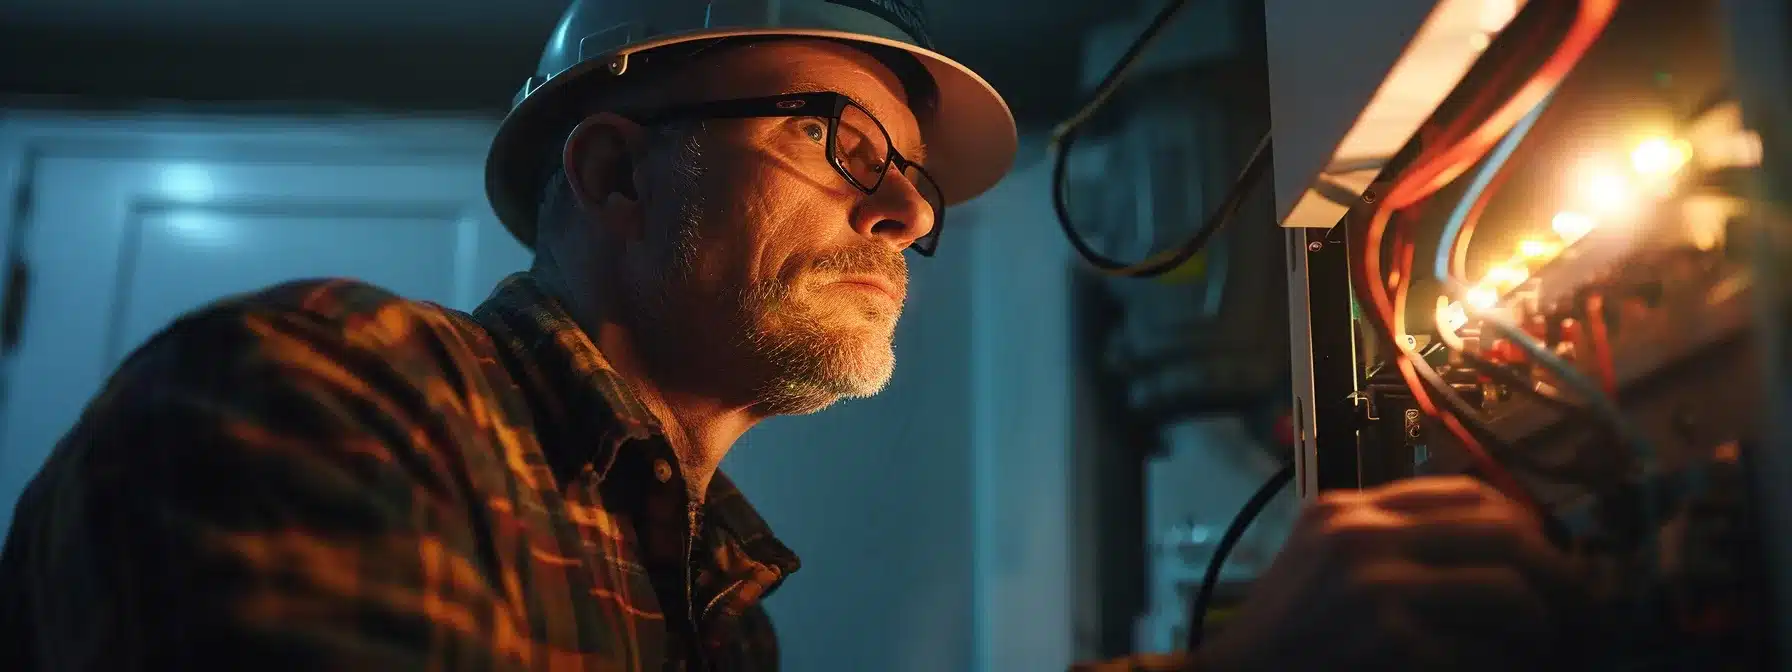
Knowing When to Call a Professional Electrician
Sometimes, homeowners may find themselves in over their heads when dealing with electrical issues, especially if they notice persistent symptoms that indicate a deeper problem. Signs such as flickering lights, frequent breaker trips, or outlets that feel warm to the touch shouldn’t be ignored, as they could reveal underlying electrical faults that persistent DIY attempts may exacerbate. Without the right knowledge and experience, trying to fix these issues on one’s own often carries risks, not just of further damaging the electrical system but also of creating potentially harmful situations. In these cases, it’s smarter and safer to call a professional electrician who can accurately diagnose and resolve the problems, ensuring the home’s electrical system remains safe and efficient.
Signs That Indicate a Deeper Electrical Issue
Homeowners should pay close attention if they notice frequent and unexpected circuit breaker trips. A breaker that continuously trips might indicate that the electrical system is overloaded or compromised, leading to safety concerns that could be more serious than a simple reset.
Another sign to watch for is warm or discolored outlets. If any outlet feels hot to the touch or shows signs of discoloration, it may signal damaged wiring or excessive current that puts the home at risk. Ignoring these symptoms could lead to more significant problems down the line.
Lastly, buzzing or humming sounds coming from outlets or the breaker panel are cause for concern. These noises can suggest loose connections or faulty components that require immediate attention from a qualified electrician to avoid potential hazards:
The Risk of DIY Fixes Without Proper Knowledge
Taking on DIY electrical fixes without adequate knowledge poses a significant risk to both the homeowner and the home. Mistakes during repairs can lead to serious injuries or even ignite fires, particularly if the work involves wiring or complicated electrical systems. Without the right training, it’s easy to overlook vital safety precautions and create more problems than solutions.
Homeowners attempting to tackle electrical issues can also face unexpected costs if they inadvertently cause damage. A simple fix can snowball into a costly repair job if a professional needs to step in to resolve a mistake. Understanding the limits of DIY fixes helps prevent financial strain and ensures that problems get addressed properly.
In light of these risks, recognizing when to seek help from a qualified electrician is essential. Having a professional take the wheel not only guarantees a safer environment but also offers peace of mind knowing that experienced hands are managing the repairs. Homeowners can focus on the day-to-day, leaving complicated electric work to those trained to handle it:
- Identify potential hazards associated with DIY fixes.
- Consider the financial implications of errors.
- Recognize the value of professional expertise in resolving electrical issues.
Conclusion
Resetting a tripped circuit breaker safely is essential for maintaining a functioning electrical system. Homeowners should prioritize safety by using proper equipment and turning off connected devices before attempting a reset. Understanding the steps involved helps diagnose underlying issues that might lead to frequent trips. By following this guide, homeowners can manage their electrical systems with confidence and reduce the risk of larger problems in the future.